Before A&P: Anatomical Directions, Planes, Cavities & Membranes

Anatomy and Physiology is different from the other science classes you’ve taken, and there’s a lot of memorization. But despite the complexity of the subject matter, you’re not destined to fail. There’s a lot of information that’ll be thrown at you, most of which you’ll be hearing for the first time. In order to do well, don’t let yourself fall behind.

There’s still a lot of time before the Fall semester begins. Throughout the summer, I’ll be introducing some basic anatomy and physiology concepts. These are things that you’ll learn about at the start of your class, but going in with a foundation will help you keep your head above water. Feel free to leave questions or requests for certain concepts in the comments.

In this post, I will focus on directional terms, planes, body cavities, and membranes.

Anatomical Position

This is one of the most fundamental lessons you’ll learn anatomy, and you’ll refer to it often. It’ll help you to better understand directional terms and tell the difference between your right and your cadaver’s right.

This is the anatomical position:

Anatomical Position Real

I recommend that you stand up and mimic this pose, as it’ll come in handy throughout the semester.

Directional Terms

Superior vs Inferior: toward or away from the head
Cephalic vs Caudal: toward the head, toward the feet
Medial vs Lateral: relative to the midline
Proximal vs Distal: used for limb structures; closer or further from the torso
Superficial vs Deep: relative to the surface of the body
Anterior (Ventral) vs Posterior (Dorsal): forward or toward the back

Anatomical Position

Note: Always regard directions from the perspective of the cadaver

Examples:

  • The head is superior to the stomach
  • The spinal cord is dorsal to the sternum
  • The toes are ventral to the heel
  • The hand is distal to the shoulder
  • The wrist is proximal to the index finger
  • The nose is medial to the eyes
  • The ears are lateral to the lips
  • Skin is superficial to muscle
  • Lungs are deep to ribs

Abdominal Regions

The abdomen is divided up into different quadrants and regions, which act as reference points for locating underlying organs.

Abdominal Regions

It might seem like a lot to remember, but here’s where being familiar with basic medical terminology can help. For example,

Chondro/o means cartilage and hypo- means below, so hypochondriac refers to the area of the upper abdomen just below the cartilage of the ribs.

Gastric means stomach and epi- means above, so epigastric refers to the area of the abdomen just above the stomach. And since we already know what hypo- means, hypogastric refers to the area of the abdomen just below the stomach.

Umbilical should be easy to remember—left over from the umbilical cord is the belly button!

Lumbar refers to the lower part of the back, so these regions should be easy to remember. Right lower back and left lower back.

Ilium is the largest of the three hip bones. The iliac crest is the curved superior border of the ilium. You can actually feel this if you put your hands on your waist and push down. So the iliac region is near the pelvis.

Anatomical Planes

Sagittal plane: runs vertically through body, separating right and left
Midsagittal plane: sagittal cut through the middle of the body, creating equal right and left halves
Transverse (horizontal) plane: runs parallel to the ground, separating superior and inferior portions
Frontal (coronal) plane: separates body into dorsal and ventral portions

Planes

Body Cavities

A body cavity is a fluid-filled space whose primary purpose is to prevent friction. The body is divided up into four main cavities:

  1. Dorsal cavity: contains the brain and spinal cord
  2. Ventral cavity: (aka the thoracic cavity) superior to diaphragm, contains heart and lungs
  3. Abdominal cavity: inferior to diaphragm, contains stomach, intestines, and kidneys
  4. Pelvic cavity: contains urinary bladder and internal reproductive organs

The abdominal and pelvic cavities are often combined, forming the abdominopelvic cavity.

Body-cavities

There are smaller serous cavities within the larger cavities for specific organs that also serve to reduce friction. They’re composed of:

  • The visceral serous membrane: cells lining the organ itself
  • Serous fluid: produced by membrane; functions as a buffer
  • The parietal serous membrane: located more superficially from the organ

membranes

A great way to remember this is to think of a baseball glove. The part that touches your hand is the visceral membrane and the outside of the glove is the parietal membrane. The space inside surrounding your hand is the serous fluid.

The Health Museum, Houston, TX

I visited the Health Museum during a recent trip to Houston. The Health Museum is an interactive science learning center located in the heart of the city’s Museum District. According to its website, the Health Museum’s mission is to “foster wonder and curiosity about health, medical science and the human body.”

The Health Museum Houston

As part of the Texas Medical Center, I had high hopes going in, but was ultimately left disappointed by how watered down the exhibits were. The Health Museum is a great place for kids to learn about the human body, but there was nothing there that hadn’t already been discussed, in depth, in my anatomy and physiology classes.

That said, I still had a lot of fun exploring the hands-on walkthrough of the human body. It’s not every day that a room is turned into a rib cage.

The Health Museum Houston Rib Cage

In addition to the rib cage, the museum housed larger-than-life replicas of the human brain, ear, and eye. A closed exhibit led me to believe that a human heart would soon be added to the collection. Each one had interactive animation and audio connected. It’s nothing new if you’ve already completed A&P, but it’s a fun refresher nonetheless. The downside was that many of the interactive components weren’t working properly or didn’t work at all — a risk you take with so many children pounding on buttons.

As someone who loves bones, I really enjoyed a leisurely bike ride with this guy:

The Health Museum Houston

As you pedal, so does the skeleton. After studying kinesiology, you know how your bones and joints work to perform specific movements, but it’s awesome to see it in real-time. It’s a really simple activity, but easily one of the most enjoyable for this anatomy-lover.

Admission is only $9 for non-member adults, and $7 for children and seniors. I visited on a Sunday morning, and it wasn’t crowded at all so I didn’t feel like I had to rush through any of the exhibits. If you’re bringing children, plan to spend a few hours, as there are a lot of interactive stations for them to explore. As adults, we probably spent two hours there and felt like we had seen everything we wanted to.

4 Must-Read Anatomy Books

I spend a lot of time reading a variety of books, but some of my all-time favorites are those dealing with anatomy, cadavers, pathology, and medical history. I’ve divided some of my favorites into different sections — anatomy, pathology/forensics, general medical, and mortuary — and I plan to highlight the best of the best (in my opinion) here. Today, I’m starting with anatomy.

It’s really difficult to pick favorites, so I chose four books that I’ve read more than once. In fact, I even own multiple copies of some of them. Here’s a bit about each one. If you decide to buy or borrow, I hope you enjoy them as much as I did!

must read anatomy books

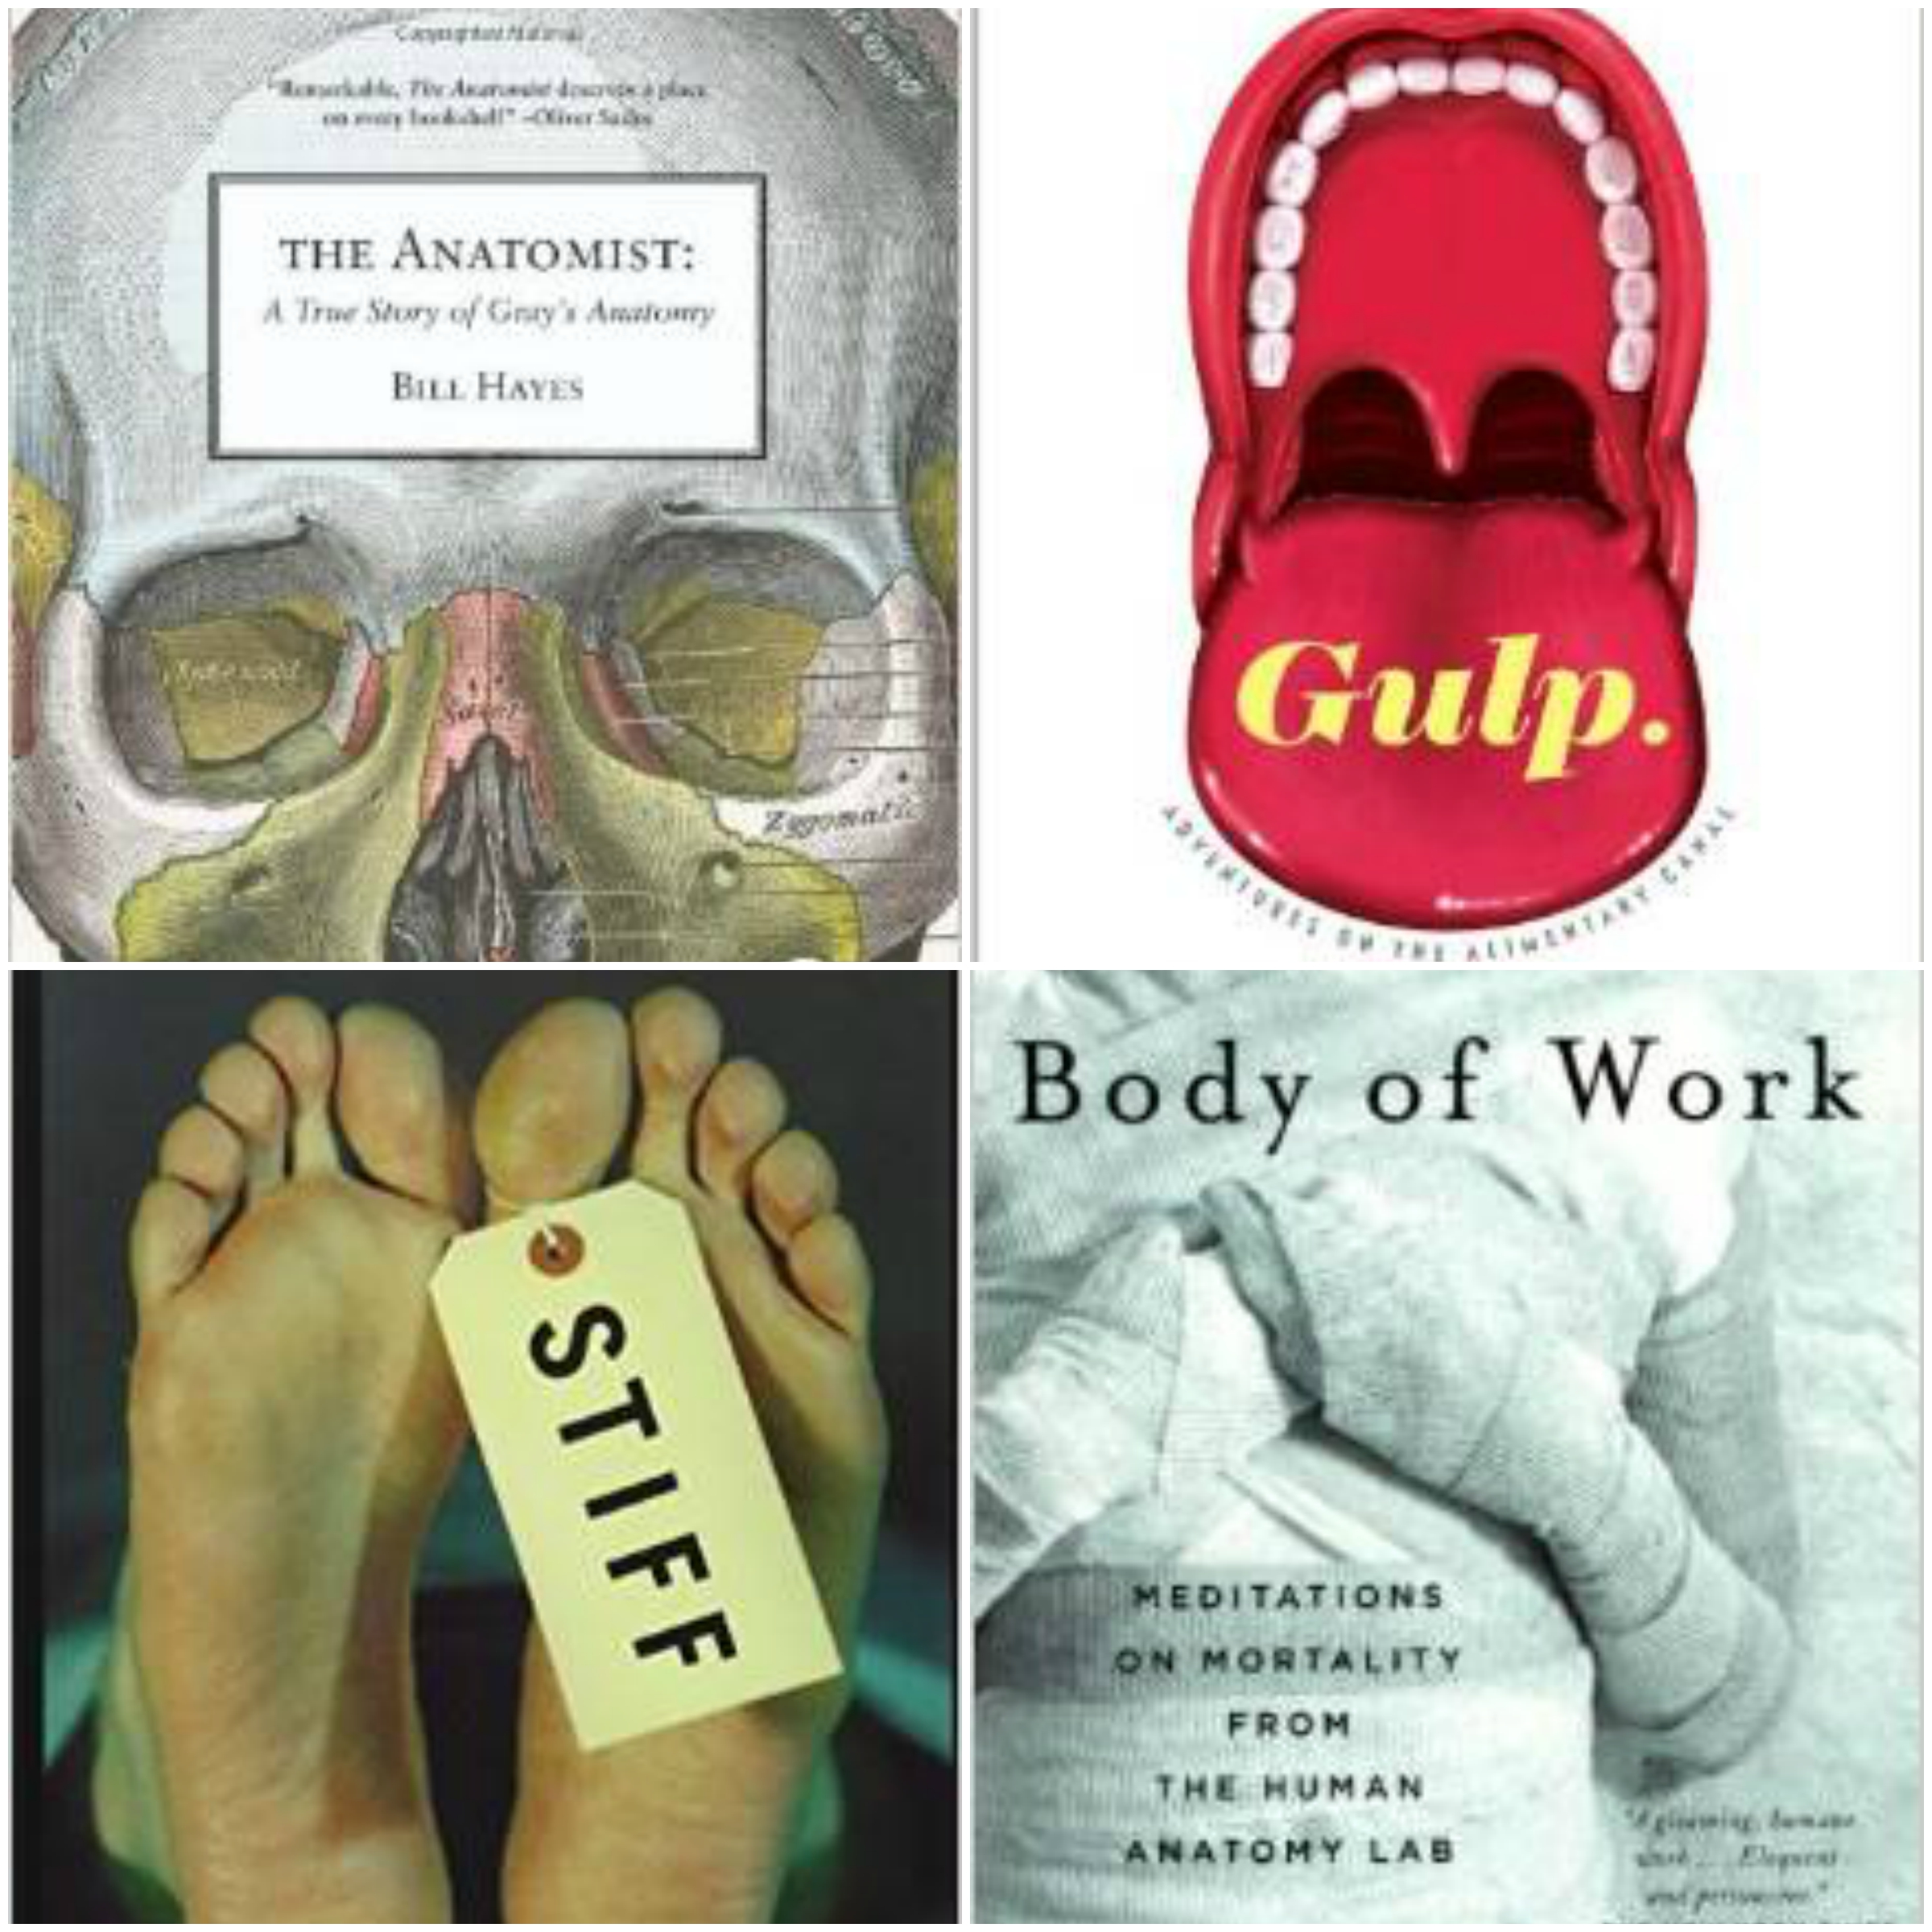
The Anatomist: A True Story of Gray’s Anatomy – Bill Hayes

The author, Bill Hayes, tells the story of the two men who created the most famous medical text of all time — Gray’s Anatomy. Part biography, part guided tour of the human body, The Anatomist explores the lives of these two men while balancing chapters with the author’s own experience inside an anatomy classroom dissecting cadavers. And if you don’t already own a copy of Gray’s Anatomy, you’ll probably place an order on Amazon after reading this.

Gulp: Adventures on the Alimentary Canal – Mary Roach

Mary Roach is one of the funniest science writers today, and one of my all-time favorite authors. In Gulp, Roach explores the bizarrely fascinating digestive system, answering questions like: Why is crunchy food so appealing? Why doesn’t the stomach digest itself? How much can you eat before your stomach bursts? And so on.

As you’d expect with Roach, this isn’t a methodical top-to-bottom tour. It’s more delightful and memorable than that. She’s a gorgeous writer, a master of sly asides, puns, and the bizarre but ultimately relevant story, sounding at times like an absurdly well-informed comedian (her footnotes are must-reads). – Mari Malcolm, Amazon reviewer

Stiff: The Curious Life of Human Cadavers – Mary Roach

See? I told you I love Mary Roach. Stiff was the very first book I read by this author, and the very first book I read about cadavers. In this book, Roach explores the role cadavers have played in some of science’s “boldest strides and weirdest undertakings.” From medical school classrooms to ballistics labs and car crash tests, Stiff takes a unique approach to issues surrounding death. This is a must read for anyone considering donating their body to science.

Body of Work: Meditations on Mortality from the Human Anatomy Lab – Christine Montross

This is another fantastic read for body donors and medical students. The author, Christine Montross, details her semester-long dissection of a human cadaver. She uses brilliant and beautiful imagery to describe the intricacies of the human body, it’s almost poetic — a stark difference from Roach’s humorous and airy take.

The story of Montross and Eve [the cadaver] is a tender and surprising examination of the mysteries of the human body, and a remarkable look at our relationship with both the living and the dead. – The New York Times

Stay tuned for more book recommendations. Up next: pathology and forensics!

6 Study Tips for the HESI Exam

Last week, I had to take the Health Education Systems Incorporated (HESI) exam. This was part of the admissions process for the BSIT program I’m applying to. I had a lot of anxiety about it despite having studied for two weeks leading up to it. I don’t know about you, but standardized tests — specifically ones that have a significant impact on my future — make me panic. This is especially true of anything involving math.

In the past, I found that sometimes singing to myself before starting an exam helped calm my nerves. It was a simple way to trick my brain into thinking that the end of the world wouldn’t be prompted by turning my exam over. But unlike your run-of-the-mill exam, the HESI covers more than just one subject. It includes algebra, anatomy & physiology, biology, chemistry, grammar, physics, reading comprehension, and vocabulary.

The majority of my recent classes have been biology-based, so I felt very overwhelmed when I began preparing for my exam. As it turns out, all that panicking was pointless because I ended up scoring very well on it — I got a 94%. So I thought I’d share some of my study tips to help out anyone else who might be stressing over their upcoming exam.

Tip #1: Purchase a prep book

The Admission Assessment Exam Review, 3rd Edition was recommended to me by the woman proctoring the HESI at my school. I foolishly ignored her suggestion and instead found a cheaper option on Amazon. I ended up buying this book and I was really disappointed. Not only were there formatting errors, but there were significant typos and errors in the grammar, algebra, and biology sections.

Admission Assessment Exam Review, 3rd Edition

So yes, you might spend $10 more than you’d care to, but the quality of information you’ll receive will be infinitely better. I know this because a classmate bought the first book and was much happier with it than I was with my budget-friendly purchase.

Tip #2: Download a prep app

The HESI A2 Exam Prep iPhone app really came in handy when I was on the go. Rather that lug my prep book on the train with me, I was able to continue studying on my phone. While the app itself is free, it’s really limited. You’ll want to spend the $10 on the in-app purchases to unlock all of the subjects. From there you’ll have access to more than 1,000 practice questions and built-in study reminders.

HESI A2 Exam Prep iPhone app

Another reason the app is helpful is that it’s similar to how the actual test will be given. The HESI is a computerized exam, so studying from a paper prep book can sometimes throw you off. Don’t worry — you’ll be given plenty of scrap paper.

Tip #3: Find out which sections you’ll be tested on

Eight subjects seems like a lot, but you might not be required to study all of them. For my exam, I was tested only on algebra, biology, grammar, reading comprehension, and vocabulary. Knowing this ahead of time, I was able to tailor my studying habits so I could focus on only the most important sections. Save yourself some grief and ask questions early. Don’t waste time trying to teach yourself physics if you don’t need it.

Tip #4: Study with multiple people

I found that it was really helpful to study with two different people: one who understood what it was that I was studying and one who didn’t.

This allowed me to review and practice the material in different ways. Studying with someone who understood the material came in handy when I didn’t fully grasp concepts. I could ask him questions and get detailed explanations. The latter came in handy later on when I wanted to make sure that I understood what I had learned.

If you don’t believe me, try explaining the stages of mitosis to someone who’s never studied it before. If they understand what you’ve described, then you have a really good handle on the mechanism. Of course this won’t work for every section, but I found it particularly useful for biology and vocabulary.

Tip #5: Don’t fill out practice tests in the book

To be clear, I’m not recommending that you ignore the practice tests. My advice is that you don’t fill in the answers to the practice questions in your book. Doing so will make it difficult to re-take the test since your answers will be visible. Erasing won’t help either. You won’t be able gauge how well you’re understanding the material if hints are clearly marked.

Furthermore, if you’re feeling really good about most of the questions, don’t keep repeating them. Save yourself some time and instead of repeating the entire test over and over again, just focus on the ones you got wrong. Then, once you’ve mastered those questions, retake the entire test one more time.

Tip #6: Time yourself

Although taking the practice test at home is much different from the actual test, it’s in your best interest to time yourself. The HESI exam has a four-hour time limit. That probably seems like a lot of time now, but it flies by — especially if you’re being tested on all eight of the subjects. Time your practice tests so you go into your real exam with an idea of where to start and how much time each section will eat up.

During my test, we couldn’t go back to previous questions. We had to answer each one and submit each answer. You’ll need to spend a bit of extra time on some of the questions since you can’t come back to it later. Timing yourself ahead of time will ensure that you’re able to give yourself some wiggle room during the exam.

If you’ve studied, the only thing left to do is relax and trust that you’ll do well. You know this stuff. Take a deep breath and begin. Good luck!

A Possible Change of Plans

It looks like plans are changing, again. The program I’ve spent the last two years working toward has changed from certification to a full bachelors degree. As a result, a last-minute pre-requisite was added and the tuition increased five-fold. It seems, from where I’m standing, that the curriculum will stay the same and the only thing changing is the piece of paper I’ll receive after two years. To me, that doesn’t justify the price hike. It’s disheartening to say the least.

A friend told me that it seemed like the universe was putting up road blocks because it had something else, something better perhaps in store for me. I didn’t believe her at the time, but a few weeks later I had a conversation with a mentor of mine and he told me about a pathology assistant program that I might be interested in. I had no idea that this existed, so I’m very excited about the possibility of enrolling. Pathology is more along the lines of what I’m interested in, since Medical Examiner was my initial goal.

The downside, at least for right now, is that I need a bachelors degree to be eligible for the pathology program. Bummer. So I’m looking into a bachelors of science in biology at a nearby university. If I can finish that in two years or less, and spend significantly less money on tuition in the process, then I will strongly consider that route. I’m just not sure I’ll enjoy two years in biology more than radiography. Unfortunately, I won’t have enough information to make my decision for another couple of months.

Until then, I’ll continue researching options and try to keep my spirits up. I don’t do change very well and when everything is out of my control I get itchy. The good news is that I’m almost done with my current semester and I will graduate in less than two months. Counting down the days!

Unrelated, I dug out some of my favorite anatomy and medical-related books from storage this past weekend and I can’t wait to tell you all about them! Stay tuned.